The 7 steps to changing a tire
A flat tire, a nightmare for many drivers, often happens at the wrong time and in the wrong place. Although many drivers subscribe to roadside assistance services that take care of changing your tires, it is still wise and smart to know how to do it yourself. Since a flat tire is a fairly common occurrence, car manufacturers have done their best to make the tire-changing process feasible for everyone. Here are the 7 steps that will help you deal with a flat tire.
1. Stop the car in a safe place
The first thing to do is to find a safe place to stop. If the flat tire occurs on a highway, take the next exit even if it means driving with a flat tire. Do not park in the middle of a curve, as oncoming cars may not see you. Find a place that is both away from traffic and stable, usable, and flat.
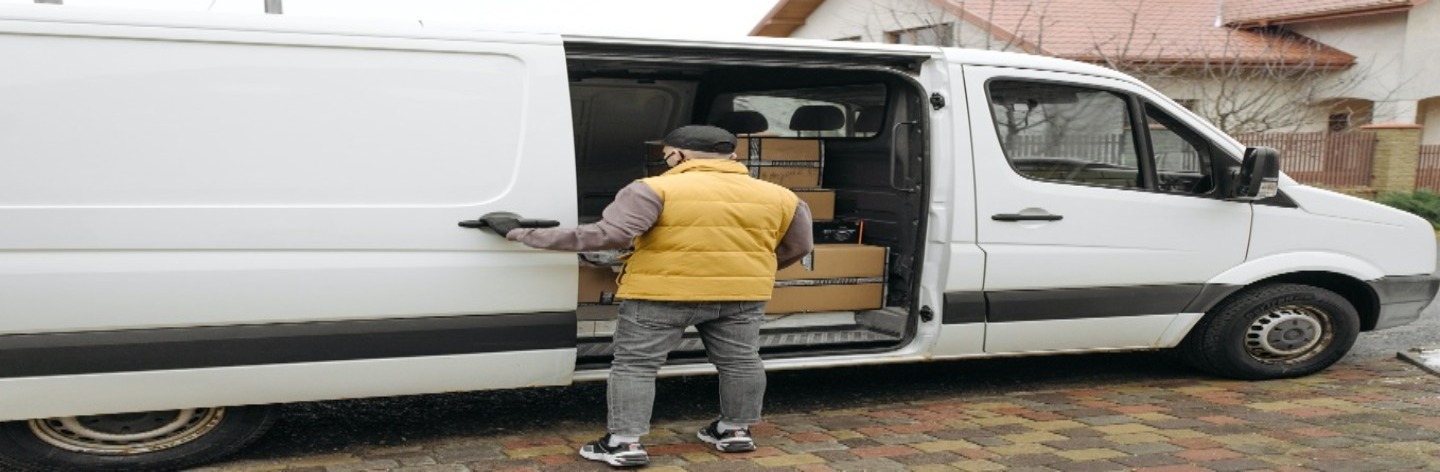
2. Remove the tools
Once parked, turn off the engine, turn on your hazard lights, and apply the handbrake. It is advisable to engage a gear (first gear or possibly reverse). If you have an automatic transmission, choose the “Parking” (P) position. Then go to the trunk of the car to get the jack, the wrench, and the spare wheel, and place them near the flat tire.
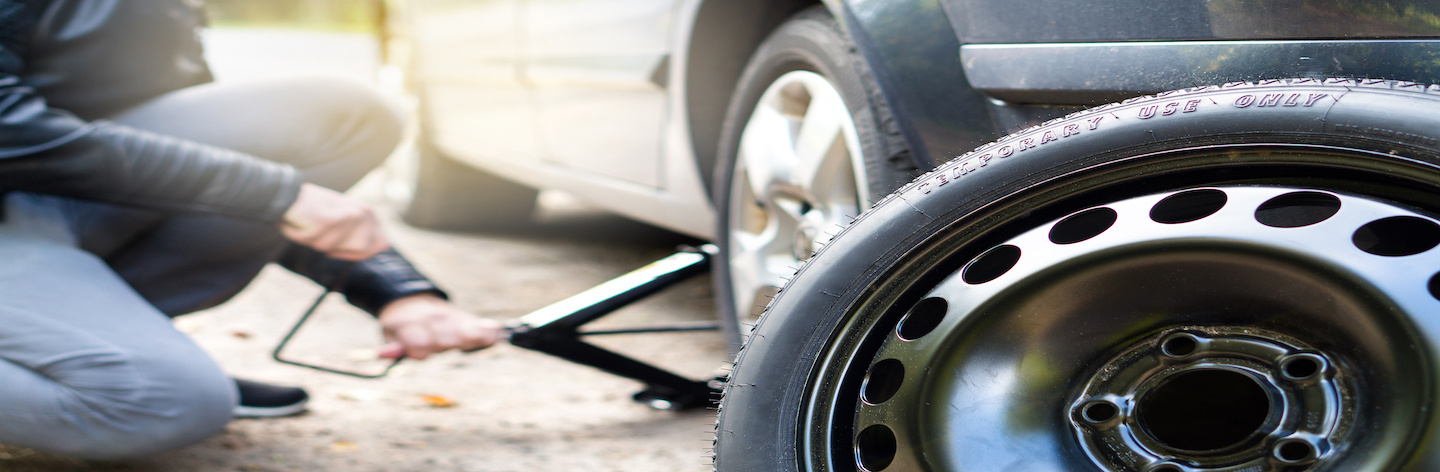
3. Position the jack
It is very important to position the jack correctly. Depending on the car model, the place where the jack should be positioned may vary. Do not hesitate to consult the manual. The jack has a small claw that you place in the notch located just behind the front wheel arches, or in front of the rear wheel arches.
4. Remove the nuts
Once the jack is positioned, lift the vehicle without lifting it off the ground. Then remove the hubcaps and loosen the nuts by turning the wrench to the left (counterclockwise) without removing them from the rim. A cross wrench is preferred for ease of use.

5. Lift the car so it comes off the ground
Lift the car until the tire is about 15 centimeters off the ground. Keep a close eye on the jack. It must remain stable, upright, and perpendicular. If this is not the case, lower the car back down and reposition the jack correctly.
6. Remove the flat tire
With the car lifted, remove the nuts one by one by unscrewing them counterclockwise. Then pull the flat tire straight towards you in a horizontal motion to remove it from the wheelbase.
7. Place the spare wheel
Check the direction of your spare wheel before mounting. The valve must be positioned outward. Place the wheel on the car and hand-tighten the nuts. This should be done without resistance.
8. Place the vehicle back on the ground
Carefully lower your vehicle to the ground and tighten the wheel. Take the wrench and tighten the bolts as much as possible. Replace the hubcap.
Once this is done, you only need to store the flat tire and the tools in the trunk.